Project Overview
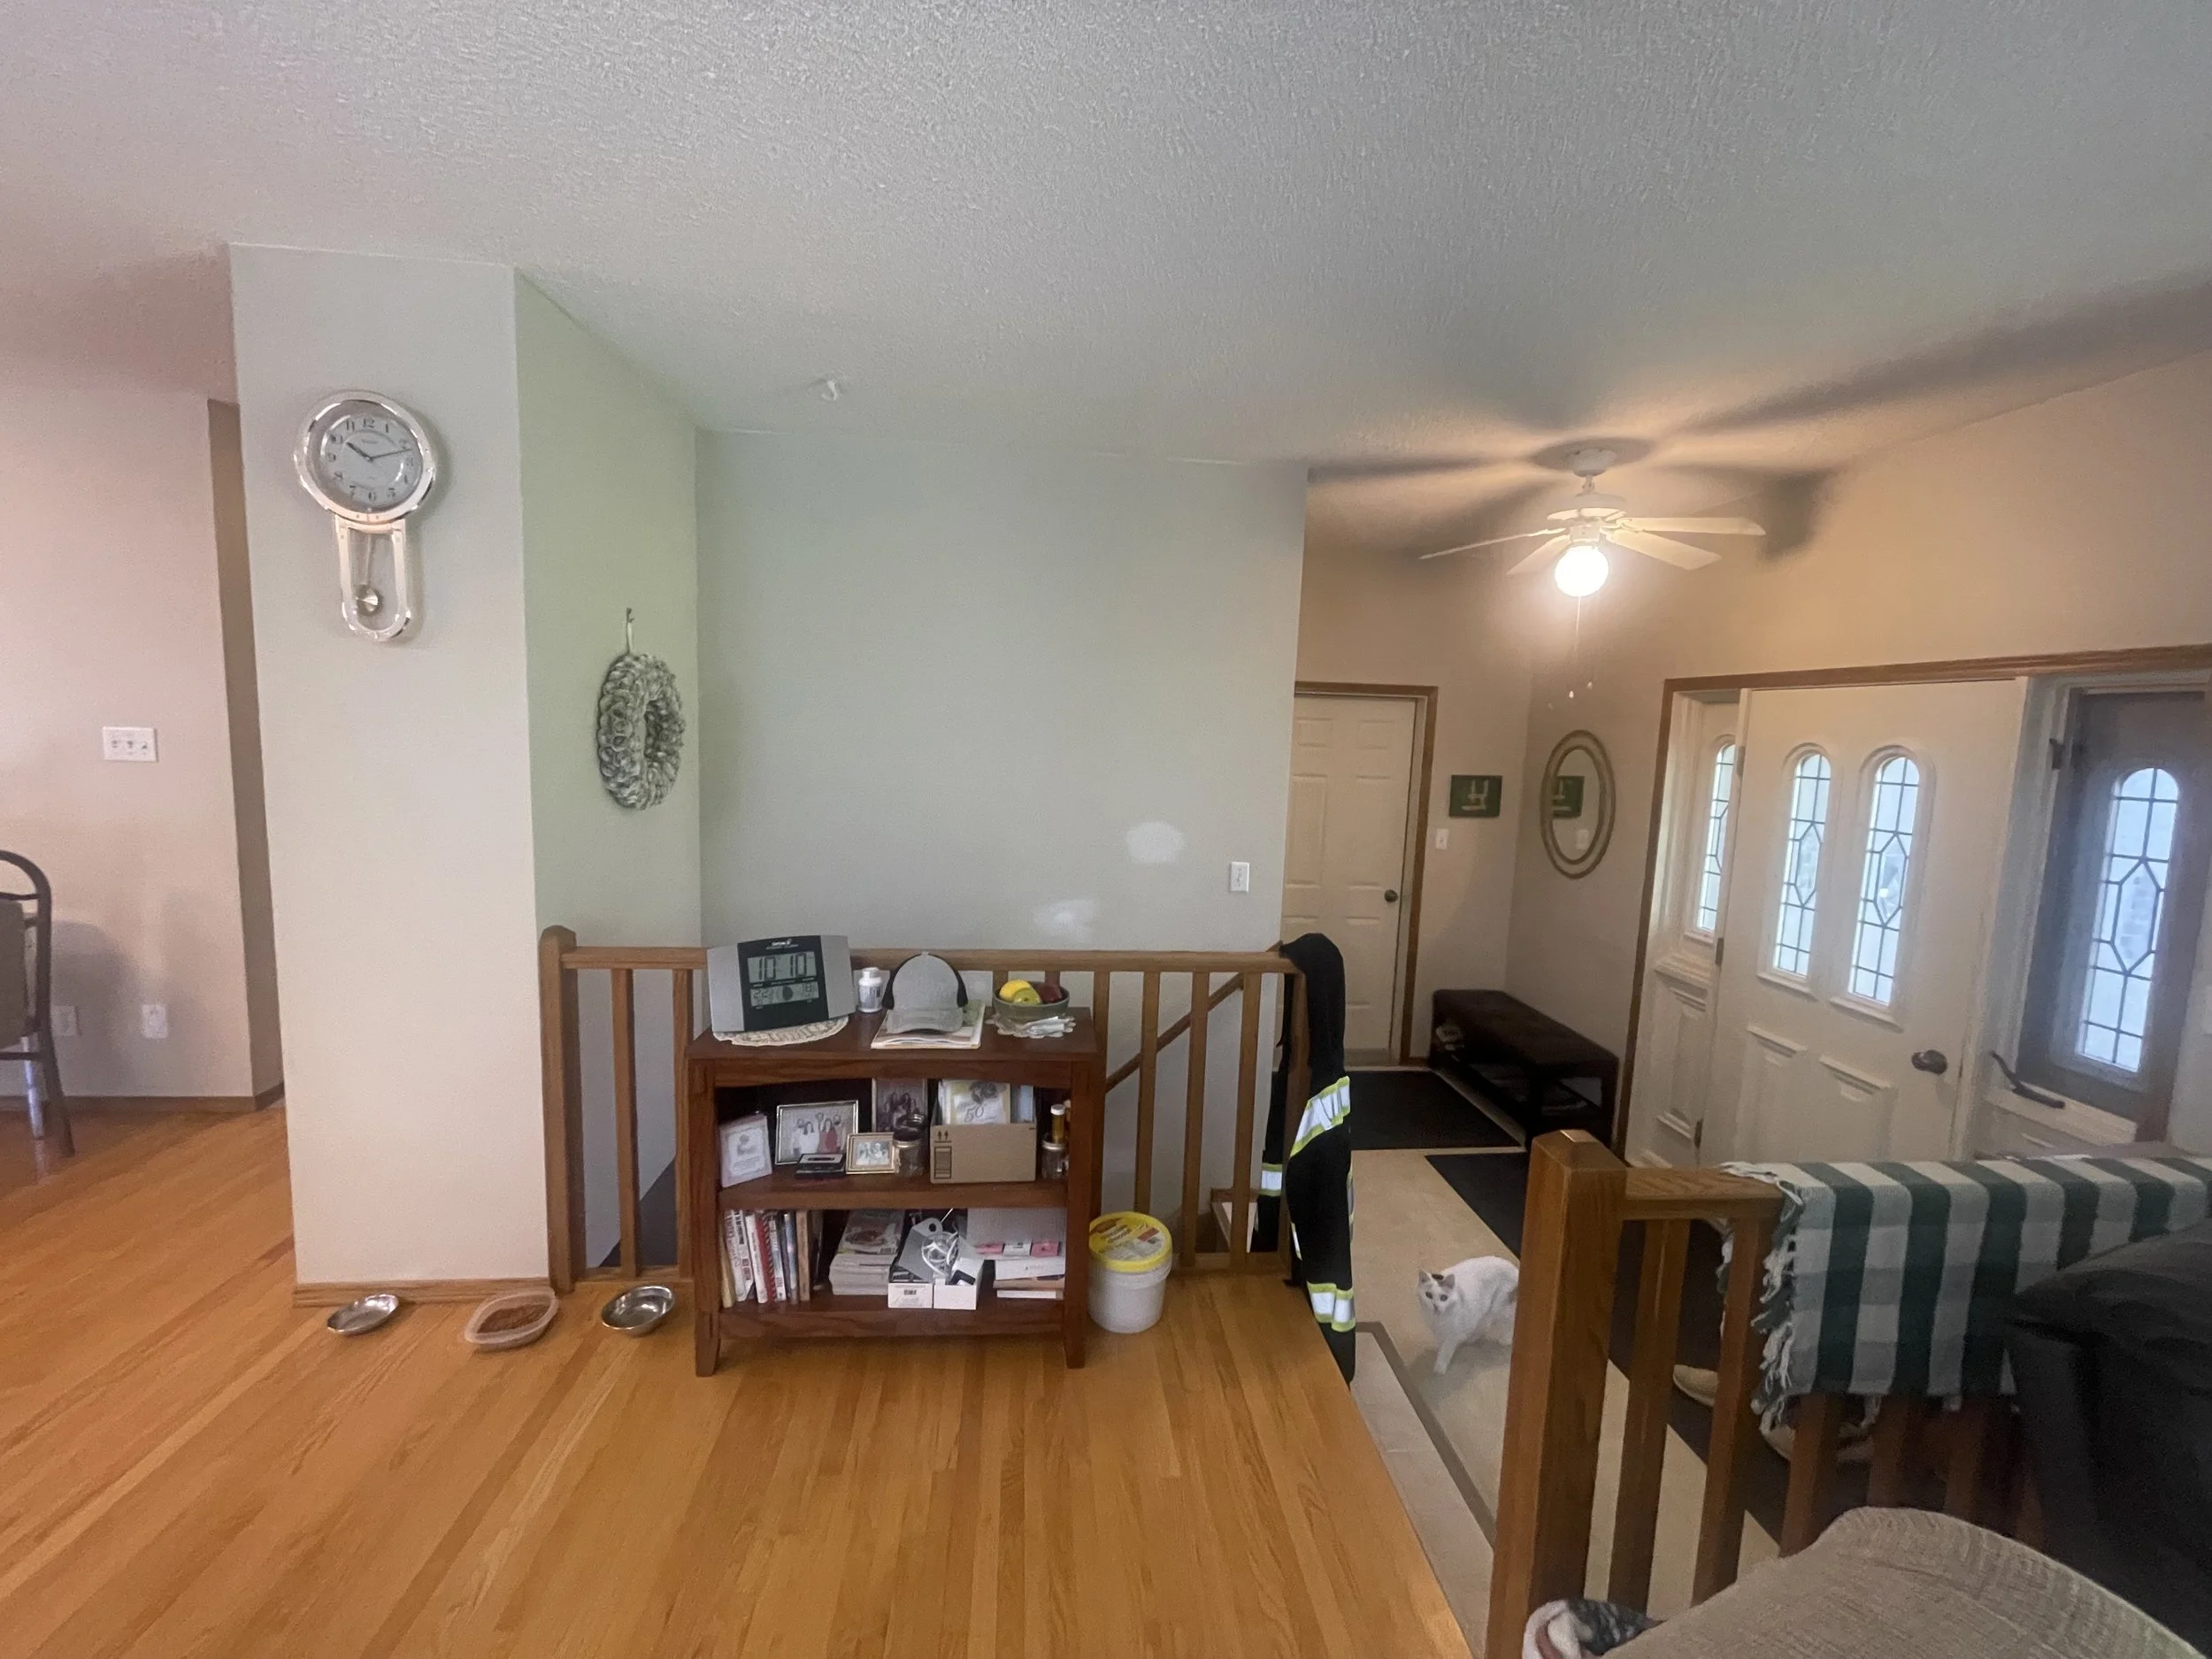
The work took place throughout the main area of the home, including the entrance, landing, living room, and hallway. The homeowners were looking for a brighter, lighter look and wanted to refresh the space from its original builder beige and stippled ceilings.
Preparing the Workspace
We began by prepping the entire area:
Poly was placed over furniture and cabinets
Drop sheets were laid over all the flooring
Walls and ceilings were covered and protected before stipple removal began
Prep is essential here because stipple removal creates a significant amount of dust and debris.
Stipple Removal Process
Using water (applied by sprayer) and putty knives, we scraped off all the stipple from the ceilings. Once removed, the ceiling becomes much smoother and cleaner.
After scraping, we inspected the ceiling for any issues. In many stipple removal jobs, hidden imperfections show up once the texture is gone. That was the case here.


Drywall Repairs & Patching
Once the stipple was removed, we uncovered:
A crack in the original drywall
Additional small patching areas throughout the ceiling
This is common because ceilings originally intended for stipple often aren’t taped or finished to the same standard as smooth ceilings. We applied tape and mud where needed and repaired damaged areas.

Priming & Painting the Ceilings
With repairs complete, the ceilings received:
One full coat of primer
Two coats of finish paint
This created a clean, bright, and smooth ceiling throughout the home.
Painting the Walls
Next, we moved on to the walls, completing patching and applying two coats of the new colour. The clients were aiming for a lighter, whiter tone to open up the space and modernize the look.
Before & After Transformation
The difference between the original builder beige with stipple and the updated smooth ceilings with lighter walls is dramatic.
The new colour palette:
Adds brightness
Provides a modern contrast between the ceiling and walls
Makes the space feel larger and more open


What to Expect With Stipple Removal
One important note: stipple removal is messy. Even with full prep, it creates dust, and some of it can track into other areas, including the driveway. It’s totally normal, and we always make sure to sweep and clean up. But dust will continue to settle over the next few days after completion, so some ongoing cleanup is required.
Final Thoughts
Overall, it was a straightforward but detailed project, with a few coordination points around patching and repairs. In the end, the homeowners were happy with the transformation—and the new, brighter look made a huge difference throughout the home.